
PHONES
Android Camera Tricks for Sharper Landscape Photos
Android camera tricks for a sharper landscape start with focus and a level horizon, then the right lens, shutter speed, and HDR or RAW for the scene.

A sharp landscape on an Android phone starts before any special mode. Set the focus, level the phone, and choose the lens first. Shutter speed, HDR, and a larger file help after that, and each one suits a different kind of scene.
Android camera tricks live in the stock camera app on a Pixel, a Galaxy, and most other phones that include a Pro or Manual mode. The controls that change a hillside are the focus lock, the horizon guide, the lens button, and those Pro Mode dials. A wider frame does not rescue a blurry one, so the ultrawide and HDR come after a steady focus.
Landscape Focus on an Android Phone
The camera focuses where you tap, so the tap decides whether the hillside is sharp. Choose a textured point partway into the scene, such as a rock, a path, or a tree between you and the horizon. Empty sky gives autofocus almost no edge to hold, and the land behind that sky is what goes soft.
After the white circle appears, lock focus and exposure before you shift the frame. On a Pixel the control is a Lock button, and it holds both the focus distance and the brightness. On many other Android phones, press and hold the circle until a lock icon shows, because the label changes with the brand.
Then look at the sky. A brightness slider usually sits beside the focus circle, and a small drag downward brings cloud shape back when the phone exposed for the darker ground. If the foreground falls into a silhouette, ease the slider up until the ground has detail and the brightest clouds still show some tone.
- Stay on the main 1x camera rather than a pinched zoom.
- Tap a textured point partway into the view, past the closest grass and short of the empty sky.
- Lock focus and exposure, then change the framing with your feet.
- Lower brightness a notch if the sky is white, and raise it if the land is a flat shadow.
Move your feet after the lock instead of tapping a new spot for every small shift. Each fresh tap is a fresh focus distance, and a last-second tap on the bright horizon is how a careful setup goes soft. The next overlook needs its own tap, because the lock from the last cliff is still sitting on the old distance.
The same order works on OnePlus, Xiaomi, and other Android phones, even when the mode is called Manual instead of Pro. Look for a grid switch in camera settings and lens marks such as 0.6x and 1x. The names move, and the sequence does not.
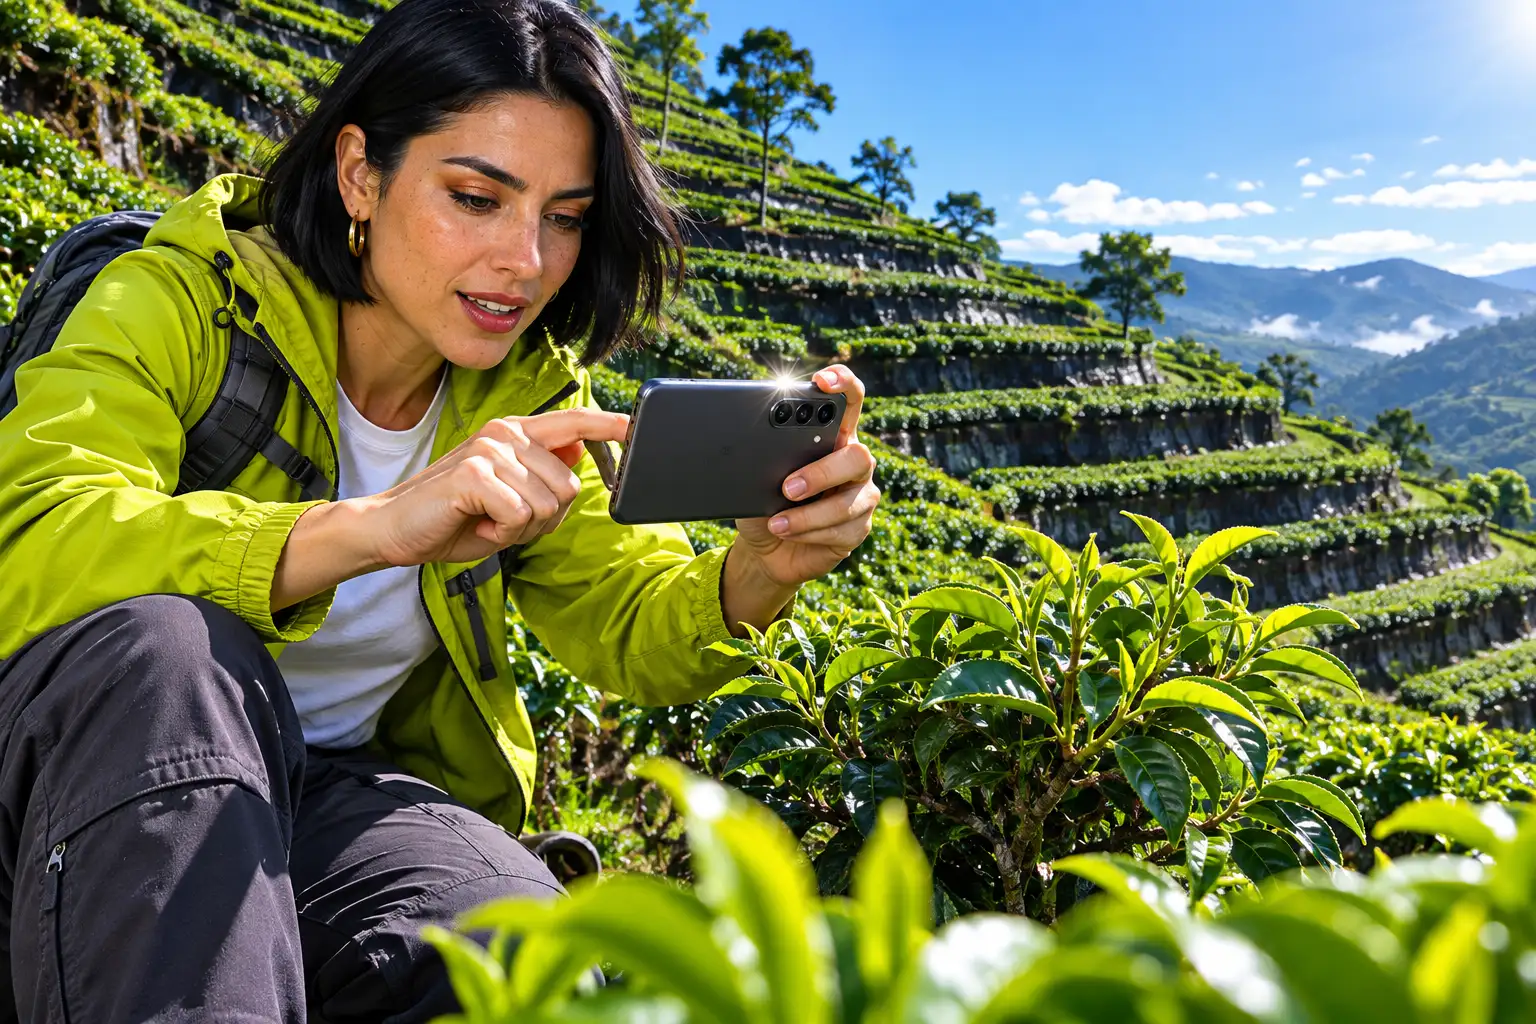
How Do You Keep a Phone Horizon Level?
A tilted horizon looks wrong in a landscape, and straightening it in the gallery crops the frame. That crop throws away edge detail you just focused for, so the level check belongs before the shutter.
On a Pixel, framing hints draw a yellow line and a white line across the preview. The phone is straight when those lines meet and the angle reads zero. Hold the phone steady, rotate it left or right, and tilt it forward or back until the lines sit together. If you point the phone up or down at the view, an up and down indicator appears, and you line that up the same way. Settings, then More settings, is where those hints can be turned off.
On a Galaxy, open the camera settings and turn on Grid lines. On many models the same screen is labelled Composition guide, and it can show the grid, a level, or both. Put the horizon on a horizontal line in that grid before you take the photo.
Use the lines as a rule of thirds guide, which is the framing idea Samsung’s own camera help points to for horizons as well as portraits and buildings. Place the horizon on the upper line when the land is the subject, and on the lower line when the sky is. A horizon through the exact middle is still a choice you can make, and the grid makes that choice visible while you can still move your feet.
Which Android Lens Fits a Landscape?
The lens button changes sharpness more than a colour filter does. Leave the main camera selected for most views, switch to the ultrawide when you cannot step back, and use a short telephoto when a distant ridge is the actual subject.
Autofocus on the ultrawide decides whether a nearby rock can be sharp. The Galaxy S22 series camera specs Samsung publishes make that split concrete, and later phones keep the same kind of gap even when the angles change.
| Lens | Galaxy S22 series specs | Use it when |
|---|---|---|
| Main camera | S22 and S22+: 50MP, F1.8, 85 degree view, stabilization, Dual Pixel AF. S22 Ultra: 108MP, F1.8, 85 degrees, stabilization. | Most handheld landscapes, and any frame you may crop later. |
| Ultrawide | 12MP, F2.2, 120 degree view. Marked FF on the S22 and S22+. Dual Pixel AF on the S22 Ultra. | The valley will not fit at 1x, and you have tested a near rock. |
| Telephoto | 10MP, F2.4, 3x, 36 degree view. The S22 Ultra also has a 10x lens at F4.9 and 11 degrees. Space Zoom is listed up to 30x on the S22 and S22+, and up to 100x on the Ultra. | A distant ridge in bright light. Past the optical step, fine detail falls away. |
FF on that ultrawide row means fixed focus. The lens does not shift onto a close rock the way the S22 Ultra’s Dual Pixel AF ultrawide can. Before you trust the wide lens on your own phone, shoot one frame of a rock about an arm’s length away. If the rock is soft and the horizon is sharp, use the main camera whenever the foreground matters.
Read the buttons on your phone the same way. A 0.6x or 0.5x mark is the ultrawide, 1x is the main camera, and 2x, 3x, or 5x is where a telephoto may take over.
Edge Stretch on an Ultrawide Lens
The wider view is the reason to switch, and the corners are the cost. Cliffs and building lines bow outward, and detail at the edges is the first place a landscape looks mushy.
- Width: You fit a valley that the main camera cuts off.
- Light: That S22 ultrawide is a dimmer lens than the main camera, so shade picks up noise sooner.
- Focus: If the arm’s length rock went soft, keep important detail farther from the phone.
- Lines: Keep the horizon and any tall trunk away from the extreme corners.
Step back and return to the main camera when a flower or a boulder in the foreground is the thing you want sharp. The wide lens can still carry the valley behind it once that near subject is out of the bowed corner.
A Telephoto Shot of a Distant Ridge
A telephoto button, rather than a heavy pinch on the main camera, is what keeps a distant ridge from turning soft. Bright light is the condition named for zoomed photos in Pixel Camera help, and a dim ridge gets worse once the phone is past the optical lens and filling in pixels.
Manual lens selection stops a Pixel from swapping cameras while you pinch. It is listed for the Pixel 6 Pro, Pixel 7 Pro, Pixel 8 Pro, Pixel Fold, and Pixel 9 and later.
- Open the camera, tap Settings, and open the Pro tab.
- Set Lens Selection to Manual.
- Tap Wide for the main camera, Ultrawide for the broad view, or Tele for the ridge, then take the photo.
A phone with no telephoto lens will not gain one from that menu. If Tele is missing, walk closer or keep the main camera, because a digital push past the optical step is where fine branches fall apart.
Android Camera Tricks for Shutter and ISO
Shutter speed is how long the sensor collects light. A faster shutter freezes your hands, the grass, and the leaves, while a slower shutter lets in more light for a waterfall or a dim hillside and also records every shake as a streak.
ISO is how sensitive the sensor is. Lower values suit bright light and a still subject, and higher values brighten a dark scene while adding noise, which is the split described in Samsung’s Pro Mode guide. If you set the shutter yourself, ISO cannot stay on Auto, and the exposure value follows the shutter you chose.
Set the shutter for the motion first, because that is the sharpness control. Let exposure move with it. Raise ISO only when the frame is still too dark and a slower shutter would blur the grass you want sharp.
White balance is worth locking when you shoot several frames of one view. Galaxy Pro Mode includes Daylight, Cloudy, and Tungsten presets. Daylight keeps a sunny set consistent, and Cloudy is the better match when the overlook is in open shade.
Open Pro Mode on a Galaxy phone from the mode button at the bottom of the camera, then choose Pro. The dials cover ISO, shutter speed, white balance, exposure, and manual focus, and Samsung’s guide, updated 22 September 2026, notes that the set changes with the model. Drag the manual focus bar when autofocus hunts across a hazy ridge, then leave that distance alone for the rest of the series.
Pixel phones split the same tools across two places. Resolution, RAW, and manual lenses sit in the Pro tab under Settings. Focus, shutter, and ISO are the Pro Controls on the Pixel 8 Pro, opened from the controls icon at the lower right. Pixel Camera help lists those sliders for the Pixel 8 Pro, Pixel 9 Pro, and Pixel 9 Pro XL.
Picture a windy headland in late afternoon. The sky is bright, the grass is moving, and a rock in the lower part of the frame leads toward the cliffs. Stay on 1x, tap the rock, lock exposure, and nudge brightness down until the clouds keep their shape.
Use a fast shutter if the grass is streaking, and accept a slightly darker file rather than a slow shutter that blurs the foreground. Switch to the ultrawide only if the cliffs will not fit, and only after a test frame shows that the wide lens can hold the rock.
When Should You Use HDR, RAW, or Full Resolution?
HDR, RAW, and a full resolution file solve three different problems. HDR tries to keep a bright sky and a darker foreground in one photo you can share right away. RAW keeps extra data for an edit. Full resolution keeps detail when you crop or print.
Leave automatic HDR on for a still overlook with a bright sky and shaded ground. If the wind is thrashing branches, or a person walks through the frame, check the edges for a doubled outline and shoot again once the motion settles. Also leave a wide screen strip and use the fullest frame ratio the app offers, so the top and bottom of the sensor are still in the file when you crop.
Choose RAW when you plan to adjust white balance, a bright sky, or noise later. A JPEG is the right file when the photo is for a message and you will not open it again. Full resolution is the separate choice for detail you expect to crop, which Pixel Camera product manager Alex King puts this way.
Imagine you take a photo out your window down the street: If you used full resolution, you’d be able to zoom in and the street signs would still be clear and readable.
Alex King, Pixel Camera product manager, Google
That 50 MP option is listed for the Pixel 8 Pro, Pixel 9 Pro, Pixel 9 Pro XL, Pixel 10 Pro, and Pixel 10 Pro XL. Turn it on under Settings, the Pro tab, then Resolution. On the Pixel 10 Pro and Pixel 10 Pro XL, that same help page notes that 50 MP also applies to Portrait once you turn it on. The file is larger, and the gain shows when you pinch in on a distant roofline.
Some Galaxy phones also run Scene Optimiser, which recognises a scene and pushes the colour on its own. Turn it off in camera settings when the greens look louder than the hill in front of you. Once the file settings match the light, a soft result comes from a short list of misses you can still fix on the spot.
What Makes an Android Landscape Look Soft?
Run the checks in this order. The first miss you find is the one to fix, and there is no benefit in changing several dials at once.
THE SOFT LANDSCAPE CHECKLIST
- The glass: Wipe the rear lenses, because a fingerprint on the ultrawide looks like a focus error.
- The lens: Confirm you are on 1x unless you needed the wide view or the telephoto on purpose.
- The tap: Focus again on a textured point and lock it, in case the camera jumped to the sky.
- The shutter: Speed it up if grass or your hands moved, and brace the phone if the light is dim.
- The level: Fix the horizon before you shoot, so a later crop does not throw the edges away.
Wipe the glass before the first frame of the day, even if you run the rest of the list only when something looks wrong. If your hands are the remaining blur, lean the phone on a railing, tuck your elbows in, and use a short timer so the press of the shutter is not in the picture.
A panorama smears when the sweep is too quick. Pause on each dot, keep the level mark centered, and wait until that dot finishes before you move. If a zoomed panorama looks poor in low light, shoot the sweep again on the main camera, which Pixel Camera help calls the stronger option in dim light.
Smooth water on a Pixel sits in Motion mode as Long Exposure. Hold the phone still, tap the shutter, and let the length follow the motion in the scene. That mode is listed from the Pixel 6 generation onward, with the Pixel 6a left out, and it is not offered on the Pixel 5a (5G) and earlier. On a Galaxy, the same idea is a slow shutter in Pro Mode with the phone braced on a rock or a small tripod.
Frequently Asked Questions
Do These Steps Work on a Phone Without Pro Mode?
Yes. Tap to focus, a grid or a horizon guide, and the lens buttons all sit in normal photo mode. Pro Mode is the extra step when you want to set shutter speed, ISO, or manual focus yourself. Samsung’s Pro Mode page says the mode is on most modern Galaxy phones, including S, Z Fold, Z Flip, and A series models, and that older or simpler phones may not have it.
Should You Turn Scene Optimiser Off?
Turn it off when the greens and the sky look stronger than the scene in front of you. Samsung’s Scene Optimiser page, updated 28 January 2026, says the rear camera can choose among twenty scenes, including landscapes, mountains, beaches, sunrises and sunsets, and waterfalls, and that accuracy may differ with several subjects, a shot that is out of focus, or moving subjects. Leave it on when you like the colour and you will not edit the file.
Can a Gallery Edit Sharpen a Soft Landscape?
A sharpness slider adds contrast along edges, and it cannot put back detail the lens never recorded. Streaked grass or a mushy foreground rock needs another photo, with a faster shutter or a different focus point, while you are still at the scene. Save editing for a frame that was already sharp and only looks a little flat.
Do You Need a Separate Camera App?
No, not for the steps on this page. The stock camera app covers focus, a level or a grid, the lens choice, and Pro Mode on phones that include it. Open a separate manual app only when your phone’s own Pro Mode has no slow shutter or no RAW option and you need one of those for water or for an edit.
Does a Tripod Beat a Faster Shutter?
Use a small tripod when the shutter must stay open, such as smooth water or a dim hillside after sunset. On a windy daylight overlook, a faster shutter does more, because the tripod holds the phone while the grass keeps moving. A rock or a railing is enough of a brace when you did not bring a tripod.
Before you leave the overlook, open the photo and pinch in on the spot you tapped. Crisp texture there, plus a horizon that already sits level, means the file is worth keeping. A smear on that spot means one more frame with a faster shutter or the main camera, while you are still standing in the same light.

OpenAI’s 372 Math Results Force Departments to Rethink Hiring

Instagram Plus Tests a Read-Only Mode That Cuts Stories

Altman Asks the Public to Accept Some AI Harm

Google Freezes OSS VRP Product Reports After AI Flood

AI Agents Make Payment Rails the Scarce Prize

Fable 5 Came Back Under a Commerce On-Off Switch

Google’s SpaceX GPU Lease Has a Sept. 30 Deadline

Plasma One’s XPL Locks Face a 1.81 Billion Cliff

DGO’s Rs 549 World Cup Pass Cost Fans Sleep and Data

Moonshot AI’s $30 Billion Ask Became a $35 Billion Close
-
 AI4 months ago
Fable 5 Came Back Under a Commerce On-Off Switch
-
 AI5 months ago
Google’s SpaceX GPU Lease Has a Sept. 30 Deadline
-
 CRYPTO5 months ago
Plasma One’s XPL Locks Face a 1.81 Billion Cliff
-
 APPS5 months ago
DGO’s Rs 549 World Cup Pass Cost Fans Sleep and Data
-
 AI5 months ago
Moonshot AI’s $30 Billion Ask Became a $35 Billion Close
-

 NEWS5 months ago
ColorOS 17 Device List Spans Oppo, OnePlus and Realme
-

 GAMING4 months ago
The RTX 4050 Under Rs 70,000 Hides a Wattage Gap
-

 AI4 months ago
Boris Cherny’s Loops Still Demand a Higher Production Bar